デバックモードを有効化する方法
環境:LOCAL
バージョン6.5.2
デバックモードの有効化方法
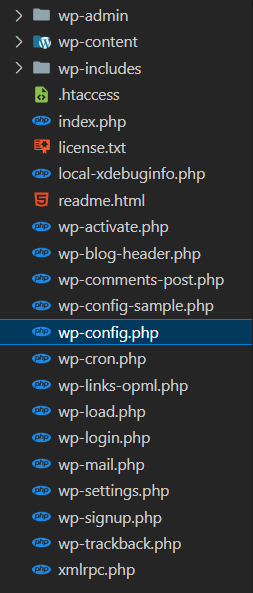
ルートディレクトリ直下にあるwp-config.phpファイルを探す
/**
 * For developers: WordPress debugging mode.
 *
 * Change this to true to enable the display of notices during development.
 * It is strongly recommended that plugin and theme developers use WP_DEBUG
 * in their development environments.
 *
 * For information on other constants that can be used for debugging,
 * visit the documentation.
 *
 * @link https://wordpress.org/support/article/debugging-in-wordpress/
 */
if ( ! defined( 'WP_DEBUG' ) ) {
	define( 'WP_DEBUG', false );
}デフォルトではfalseになっているのでtrueに変更
これでデバックモードが有効化されます
さらにこのようにコードを追加すると
if ( ! defined( 'WP_DEBUG' ) ) {
    define( 'WP_DEBUG', true );
    define( 'WP_DEBUG_DISPLAY', true );
    define( 'WP_DEBUG_LOG', true );
}
画面にエラーメッセージを表示させる
define( 'WP_DEBUG_DISPLAY', true );
エラーログを保存する
define( 'WP_DEBUG_LOG', true );
debug.logファイルが自動でwp-contentフォルダの直下に自動で生成されるようになります。
debug.logファイルの場所を調べる方法
ワードプレスのバージョンや環境によってはdebug.logファイルの生成される場所が異なる場合があるので、すぐにファイルの場所を特定することが出来たら非常に便利です。
フロントエンドファイルで以下のコードを追加、例えばindex.phpやfront-page.phpなど。
<?php
phpinfo();
?>
すると大量の情報が画面に表示されます。
そこで、”error_log"というキーワードを検索します。

このようにすぐに、debug.logファイルのパスを教えてくれます。